Before every using, plunger has to be rinsed with lenses multipurpose solution or rinse solution.
After each use, massage your plunger between your thumb and index finger with a surfactant for a few seconds. Then rinse the plunger with rinse solution for lens.
Users
- Insertion and removal contact lenses accessories are adaptable to any type of patient.
- depending on their age and motor skills kids may also be affected for making LCS accessories best use.
Contraindications
If contact lenses use is authorized, there are no contraindications by using LCS accessories.
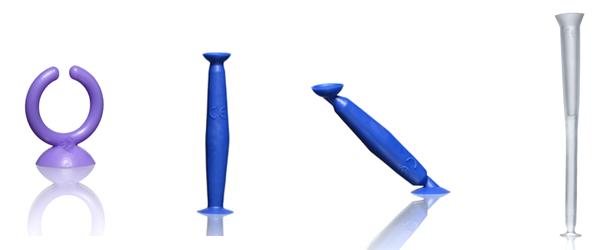
For SL plunger:
The double scleral plungers is intended for both scleral lenses insertion and removal (patients with significant visual impairment). The translucent design of the plunger allows a light source to guide the patient for the placement of scleral lenses.
Device disposal :
Respect plastic products's life cycle.
Any doubt on plunger or ring use ? Please contact your practitioner
Contact to declare vigilance: vigilance@laboratoire-lcs.com
Contact information: 14 Place Gardin 14000 Caen – FRANCE


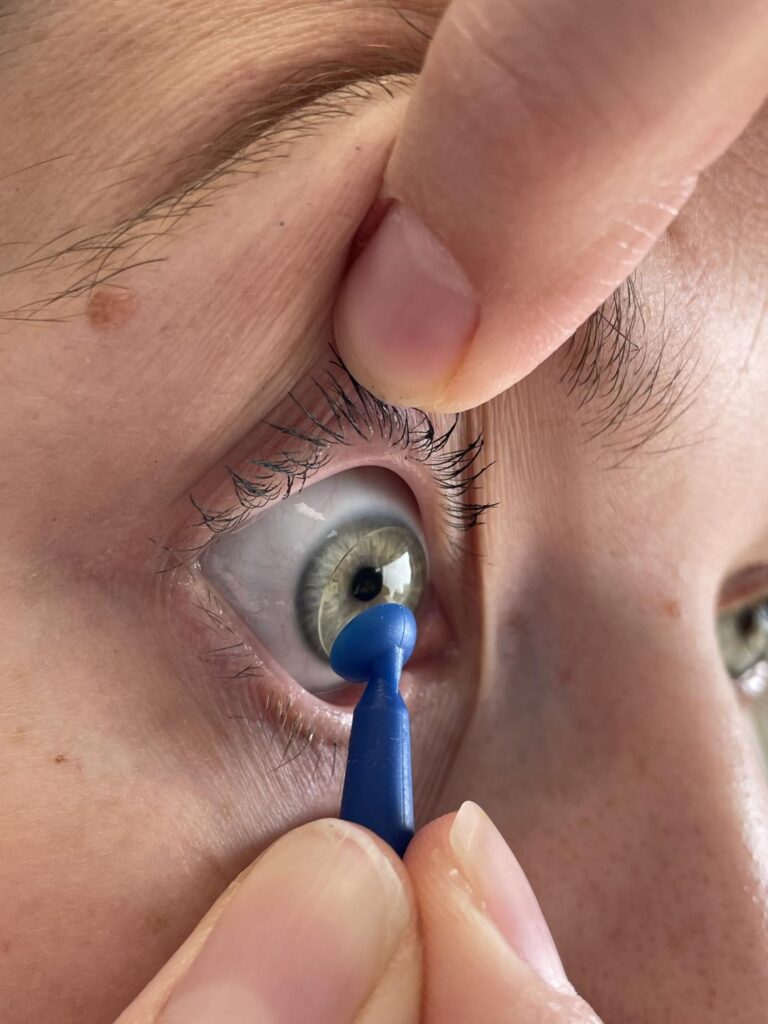
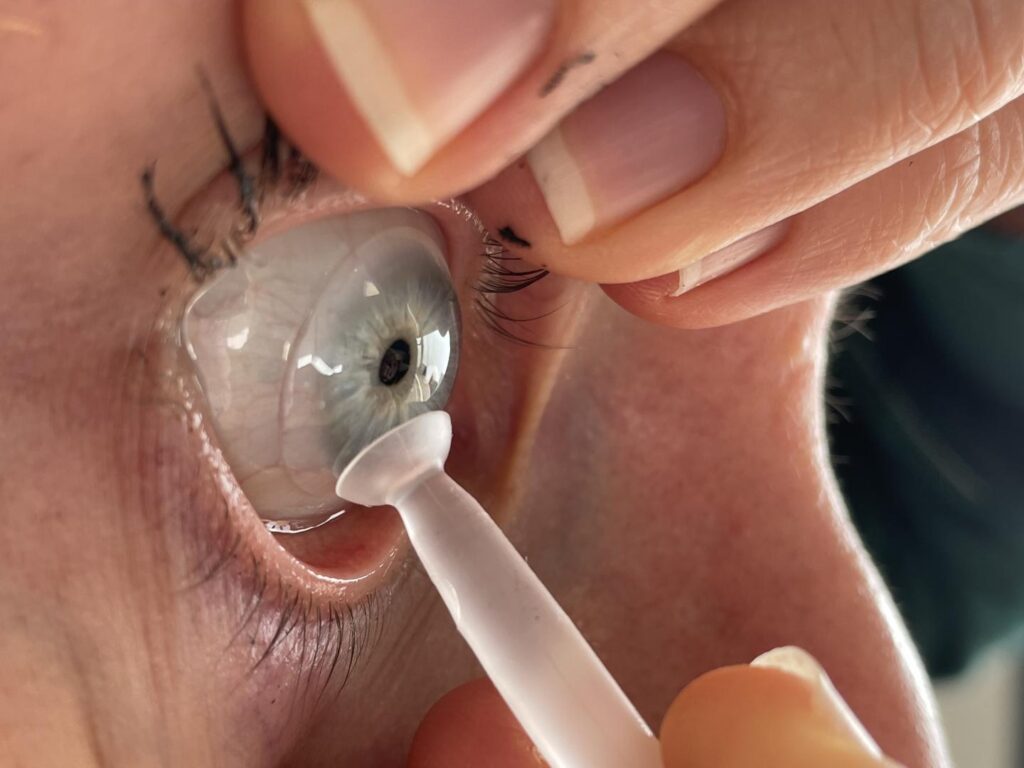
Remove your lens with DS plunger
Hold the DS plunger between your thumb and forefinger and look at yourself in the mirror. Place your middle finger just below the free edge of the lower eyelid and the index finger of the other hand on the free edge of the upper eyelid.
- For orthokeratology and RGP (rigid) lenses, place the plunger in the center of the lens and remove it.
- For EyeBrid lenses, place the plunger on the lower edge of the flexible part and lift it up. The lens loses its adhesion from below, then the whole lens will release on its own.
- For scleral lenses, cup the lens in the lower part of the lens and gently pull it upwards. The lens loses its adhesion, first from below, then the whole lens will release on its own. You can now receive it with your thumb and forefinger.
- Indications: Designed to remove Hybrid, LRPG, Orthokeratology and Scleral contact lenses
- Expected benefit: Facilitate handling during removal
- Contraindications: Do not use for soft lenses
- Undesirable effect: Possible risk of infection in the event of improper maintenance of handling accessories
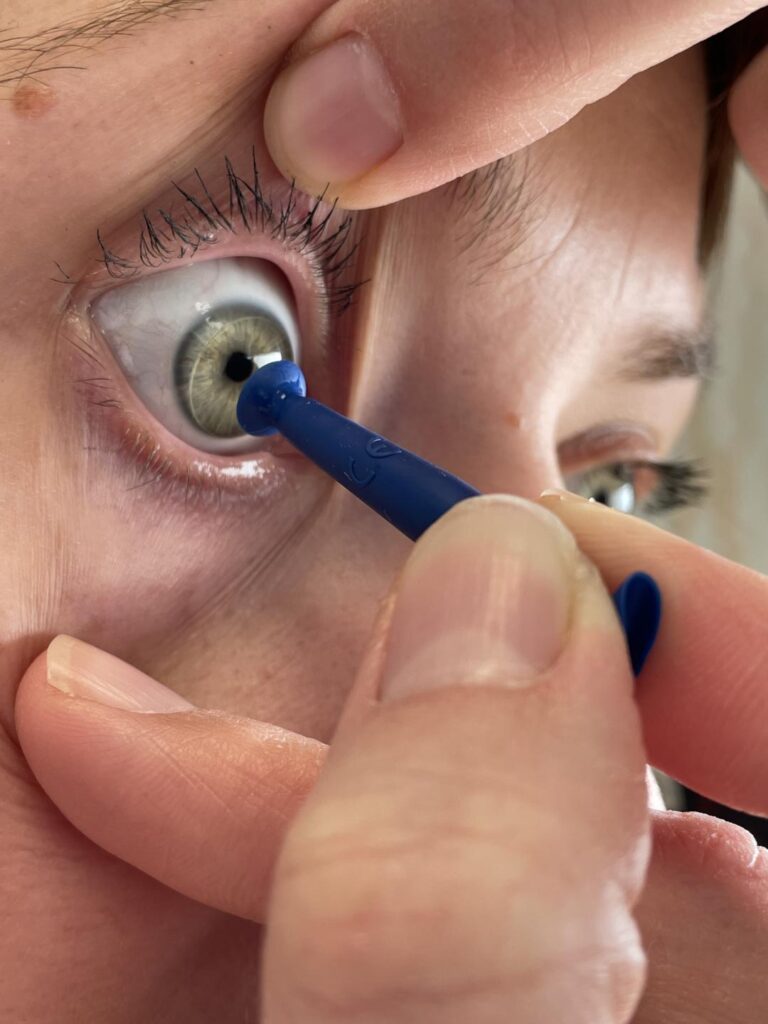
Remove your lens with DI plunger
Hold the DI plunger between your thumb and forefinger and look at yourself in the mirror. Place your middle finger just below the free edge of the lower eyelid and the index finger of the other hand on the free edge of the upper eyelid.
- For orthokeratology and LRPG (rigid) lenses, place the plunger in the center of the lens and remove it.
- For EyeBrid lenses, place the plunger on the lower edge of the flexible part and lift it up. The lens loses its adhesion from below, then the whole lens will release on its own.
- For scleral lenses, cup the lens in the lower part of the lens and gently pull it upwards. The lens loses its adhesion, first from below, then the whole lens will release on its own. You can now receive it with your thumb and forefinger.
- Indications: Designed to remove Hybrid, LRPG, Orthokeratology and Scleral contact lenses
- Expected benefit: Facilitate handling during removal
- Contraindications: Do not use for soft lenses
- Undesirable effect: Possible risk of infection in the event of improper maintenance of handling accessories
Insert and remove your scleral lens with the SL plunger
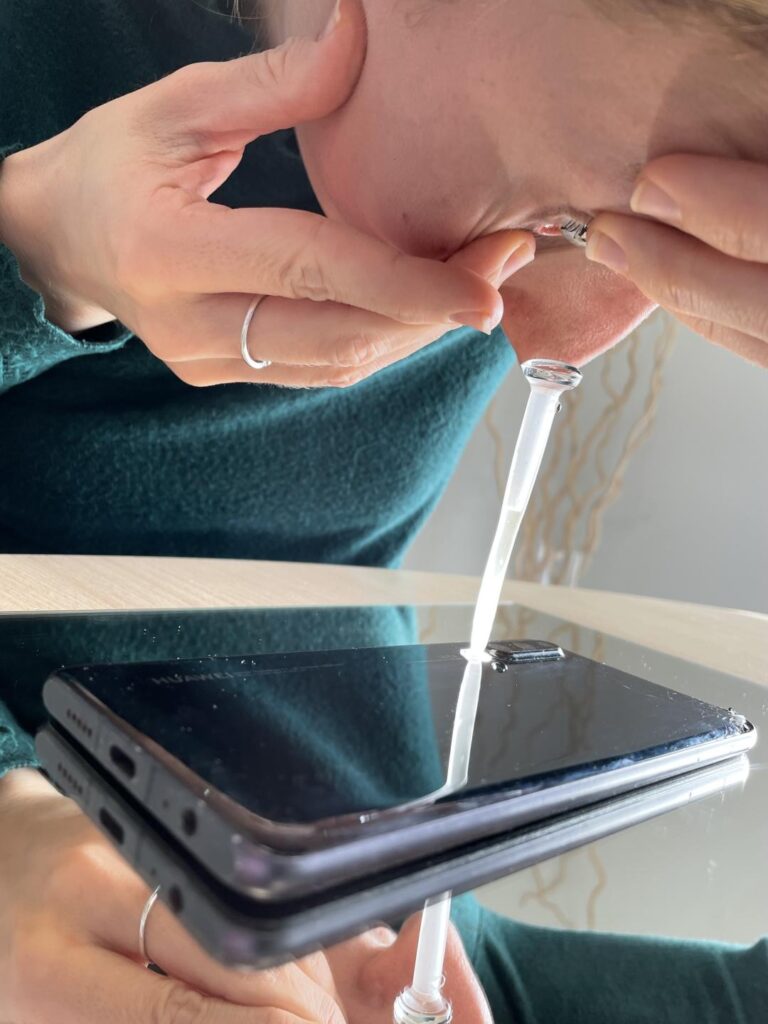
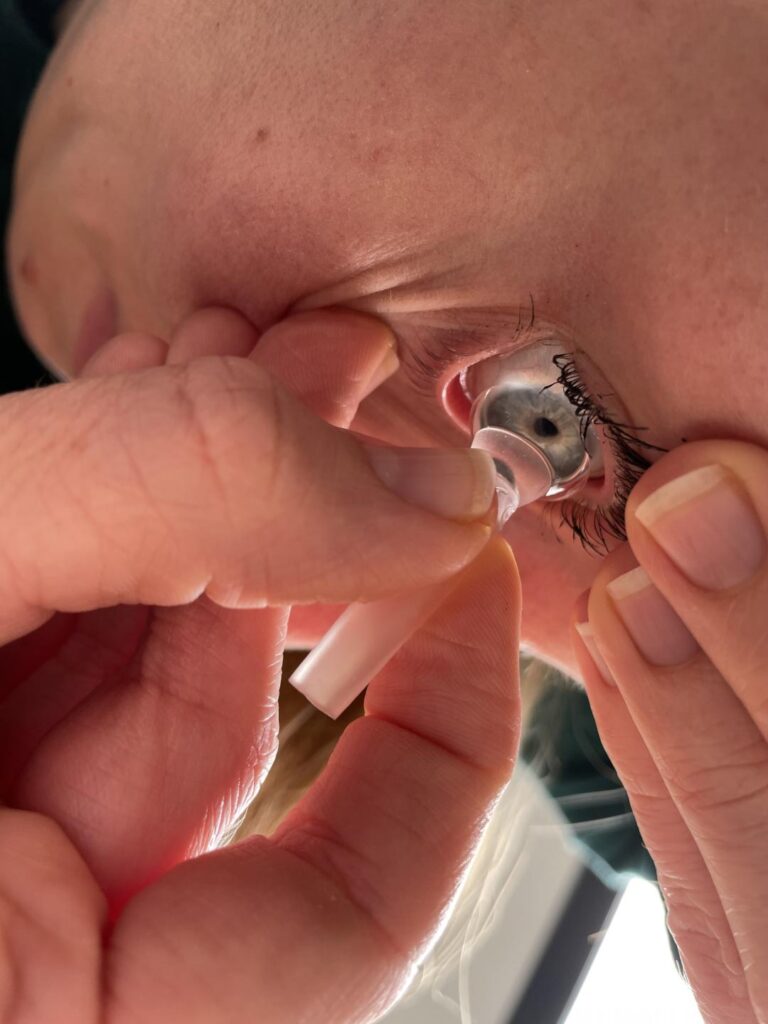
Use your middle or ring finger to spread the lower lid and your other hand to spread the upper lid, keeping them at the base of the eyelashes to avoid blinking.
Approach the lens to your eye and place it gently on the cornea. Press the plunger to release the lens. Gently let go of the eyelids and blink several times to evacuate excess tears.
Hold the SL plunger between your thumb and forefinger and look at yourself in the mirror. Place your middle finger just below the free edge of the lower eyelid and the index finger of the other hand on the free edge of the upper eyelid. Place the plunger on the lower edge of the flexible part and lift it.
For scleral lenses, cup the lens in the lower part of the lens and gently pull it upwards. The lens loses its adhesion, first from below, then the whole lens will release on its own. You can now receive it with your thumb and forefinger.
- Indications: Designed to insert and remove Scleral contact lenses
- Expected benefit: Facilitate handling during insertion and removal
- Contraindications: Do not use for hybrid, LRPG, orthokeratology and soft lenses
- Undesirable effect: Possible risk of infection in the event of improper maintenance of handling accessories
Insert your lens with RING
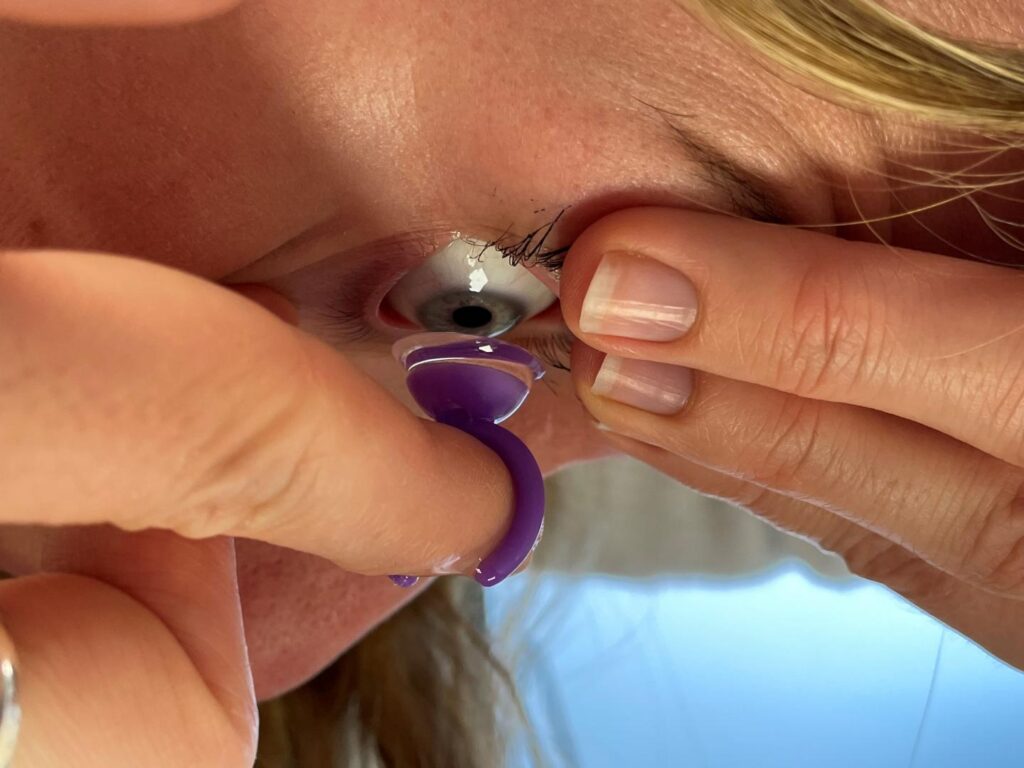
Place the handling ring on your index finger and position your scleral lens in the center of the ring. Place your middle finger just below the free edge of the lower eyelid and the index finger of the other hand on the free edge of the upper eyelid.
- Indications: Designed to insert Hybrid and Scleral contact lenses
- Expected benefit: Facilitate handling during insertion
- Contraindications: Do not use for hybrid, LRPG, orthokeratology and soft lenses
- Undesirable effect: Possible risk of infection in the event of improper maintenance of handling accessories